Overview
HAC stands for Hybris Administration console in the Hybris terms. We can monitor, manipulate and create data related hybris server, database and many more thing from HAC. To access HAC we have to use the https://localhost:9002/login URL.
USERNAME: admin
PASSWORD: nimda
HAC Console Interface
-
Banner: To open the Main page.
-
Logout link: To logout.
-
Search box: To find relevant option.
-
Tabs Navigation: Displays different options, on click navigate you to the desired page.
-
Sidebar: Sidebar consists of page description and links to the documentation.
-
Content area: Main content of the displayed page.
Platform Tab
We can see the user can click on any tab in the HAC navigation tab and navigate to the platform tab. We will discuss the each options in detail as following.
We can see the following options in the platform tab as shown in the above screenshot:
1) Tenants : We can see the tenant overview option in which we can see list of tenants data. We can see the active/ inactive tenants in this section. User can also see the master and subordinate tenants as well in this section. User can do the following operations on the listed tenants.
-
Activate
-
View
2) Configuration: This tab provides the list of the configuration properties related to hybris platform. We can view, delete and change the values of the properties from this page.
3) System: System tab provides the information related to running hybris system. We have the system environment and system properties as subsection of this tab.
-
System Environment: Information related to the thread and operating system.
-
System Property: Information related to java virtual machine and system variable properties.
4) Logging: In this tab we can manage the logging configuration of hybris code. We can configure new property. We can change the logging level of existing configurations. For Example WARN, INFO, DEBUG, ERROR and ALL..
5) Extensions: This section provides the list of the installed section in the project and also contains the version and webroot url configured for the web application extensions.
'
6) Initialization: This page allows you to initialize the hybris platform.
7) Update: This page allows you to update the hybris platform.
8)SQL Script:This page gives the options to generate the SQL script for the update and initialization of platform.
9) PK Analyzer: This page give the option of searching the details related to any PK present in hybris.
10) Classpath Analyzer: This page provides the order of loaded resources and loaded class location. By default no data will be shown on this page we have to enable classloader.monitor.enabled=true in the local.properties to get data.
Monitoring Tab
Clicking on monitoring shows multiple options as shown in screenshot:
1) Cache: This page provides the details of the active cache setting in the platform. We can clear the cache from this screen and also can view the statistical data about the cache.
2) Cluster: This page provides the list of the available cluster and the refresh of the cluster will take around 30 sec.
3) Database: This page provides the following tab for different operations related to DB.
-
Data Source: Database connection related details.
-
Table Size: Size of the table in connected DB.
-
JDBC Logging: We can start, remove the logs related to DB.
-
JDBC Log Analysis: We can analyze the DB logs from this tab.
4) CronJobs: This page provides the details related to all active cronjobs. : :
5) JMX Beans: This page contains the details related to the JMX beans. We can disable/enable them by changing the status.
6) Memory: This page provides the details of status parameter related to Java Virtual Machine. We can run garbage collection to clear memory and refresh statistics.
7) Thread Dump: This page provides the thread dump details that is required for debugging and support.
8) Performance: This performance test page provides multiple option to test the system performance. These tests can be ran one by one at particular instance of time.
-
LINPACK
-
SQL
-
SQL MAX
-
Overall
9) Suspend: This page provides the option to suspend the running system and resume the system. :
Maintenance Tab
Clicking on maintenance tab shows multiple options as shown in screenshot:
1) Clean up: We can see on this page we have tabs of Type System, Orphaned Media. Following are details of each section:
-
Type System: This tab contains all the orphaned type in the hybris system, we can view and delete these orphaned type from this page.
-
Orphaned Media Type: This tab contains all the orphaned media type in the hybris system, we can view and delete these orphaned medias from this page.
2) Encryption Key: We have following three encryption option available on this page.
-
Generation: This tab enables us to generate encryption key of multiple sizes. :
-
Migration: This tab enable to migrate the encryption key.
-
Credit Cards Encryption: This tab provides the details of all the credit card with encrypted number.
3) Deployment: This will show all the deployments in hybris system. This page have three tabs which contains the different types of details.
-
Types With Deployment: This tab will have the item types with deployment.
-
Types Without Deployment: This tab will have the item types without deployment.
-
Deployments Without Type: This tab will have the deployment without any type.
:
Console Tab
Clicking on console tab shows multiple options as shown in screenshot:
1) Scripting Languages: This page contains the execution console from where we can run the scripts of groovy and beanshell. In this console, we can edit, import, save, and execute our scripts.
2)Flexible Search: This page provides the Flexible Search console from where we can run the Flexible query and SQL query. We can execute query in commit and rollback modes.
3) ImpEx Import: This page provides ImpEx import functionality. We can import a script file or paste a script and validate it before the import.We can remove, import and validate the contents from this page.
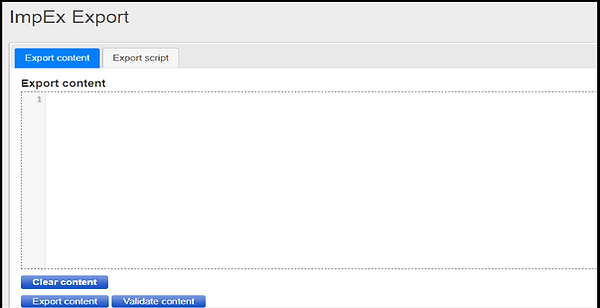
4) ImpEx Export: This page provides ImpEx export functionality. We can export a script file or paste a script and validate it before the export.